
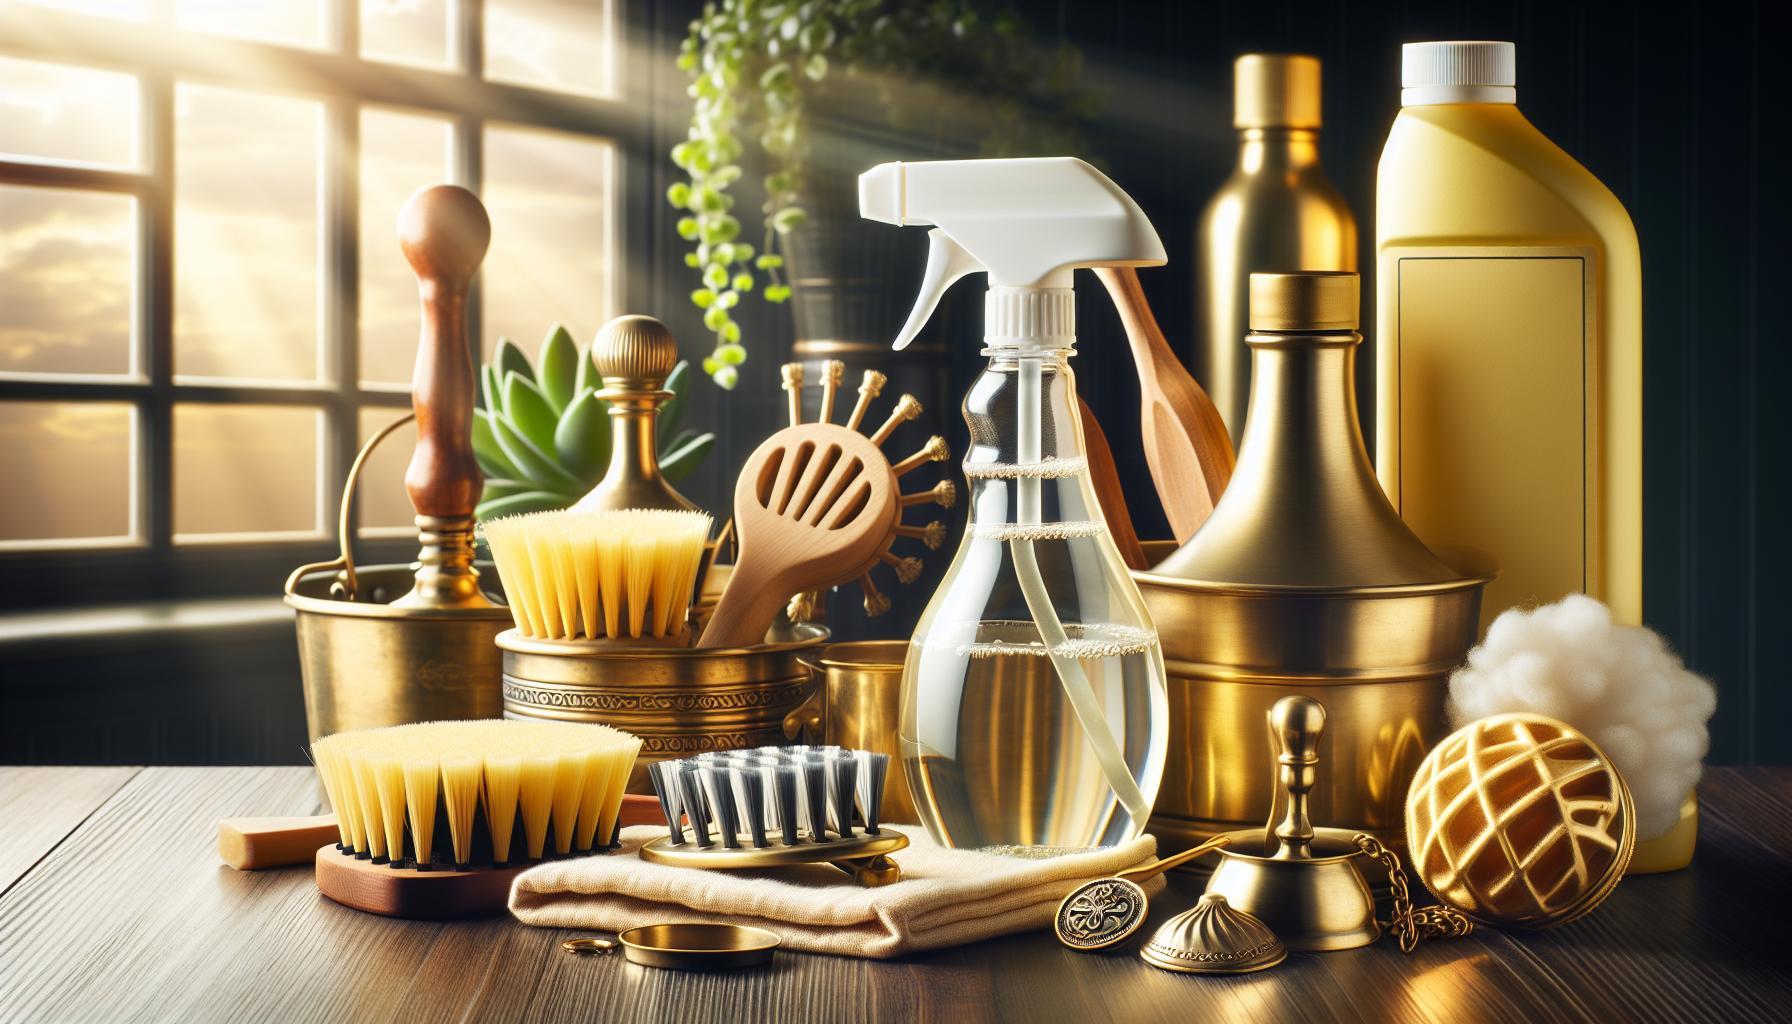

Brass fixtures can bring a warm glow to your home, but they often lose their luster over time, becoming tarnished and dull. Using vinegar for cleaning is a simple, natural solution that restores your brass to a brilliant shine in just minutes. This method is not only effective but also safe, making it perfect for those who prefer eco-friendly cleaning alternatives.
Imagine effortlessly transforming your tarnished brass items into stunning centerpieces that reflect light beautifully. Whether you’re preparing for a special occasion or just want to brighten up your space, understanding how to clean brass with vinegar will empower you to maintain the elegance of these cherished pieces. With just a few common household ingredients and straightforward techniques, you can achieve professional-looking results right at home.
Ready to reclaim the shine of your brass? Let’s dive into the effective steps that will leave your brass gleaming and your space looking rejuvenated.
Clean Brass with Vinegar: Natural Shine in Minutes

Brass, prized for its rich, golden hue and durability, often accumulates tarnish over time, diminishing its luster. Fortunately, cleaning brass with vinegar is not only effective but also an eco-friendly choice. Vinegar’s acidic properties can break down tarnish, revealing the shiny surface beneath without harsh chemicals. This method stands out as both practical and efficient, allowing even those new to cleaning to achieve professional-looking results.
To begin your cleaning journey, ensure you select the right type of vinegar; distilled white vinegar is optimal due to its clarity and strong acidity. Gather your essential tools, which include a soft cloth, a small bowl, and some baking soda. Baking soda will serve as a gentle abrasive, enhancing the cleaning power of the vinegar.
Start by mixing equal parts of vinegar and water in a bowl. Dip a soft cloth into the solution and wring it out to avoid excess liquid, which can damage the brass. Gently rub the brass in circular motions, focusing on areas with stubborn tarnish. For those particularly challenging spots, sprinkle a bit of baking soda onto the cloth or directly onto the brass, then continue to scrub in gentle circles. After you’ve removed the tarnish, rinse the brass with fresh water and dry it thoroughly with a clean cloth to prevent water spots.
By following these straightforward steps, you will not only restore the natural shine of your brass but also deepen your appreciation for its beauty and heritage. Regularly cleaning brass with vinegar can help maintain its gleam, making your cherished items look spectacular for years to come.
Choose the Right Vinegar for Cleaning Brass
To effectively restore the gleam of your brass items, selecting the right vinegar is essential. Among the various options available, distilled white vinegar stands out as the clear winner. Its high acidity and lack of coloring make it the most suitable choice for cleaning brass without the risk of staining or discoloration. Unlike apple cider vinegar or wine vinegar, which may impart unwanted hues or leave residues, distilled white vinegar provides a straightforward, reliable cleaning solution.
When cleaning brass, the vinegar’s natural acetic acid penetrates the tarnished surface, breaking down the corrosion and grime that dulls the metal’s shine. This particular type of vinegar is easily accessible and typically very affordable, making it a practical option for both occasional cleaning and routine maintenance. If you want to add an extra layer of efficiency to your cleaning routine, consider using vinegar at a full strength or mixing it with a bit of water depending on the level of tarnish. For everyday maintenance, a diluted solution suffices, but for particularly tarnished items, apply the vinegar directly for maximum effect.
Another tip to consider is that while vinegar is effective on brass, it’s equally important to avoid using it on items that have a lacquer finish. The acidity can weaken or strip the finish, leading to additional maintenance down the line. Always perform a spot test on a hidden area before applying vinegar to a visible part of your brass piece. This simple habit not only protects your items but also ensures that your cleaning efforts yield the best possible results. By carefully selecting the type of vinegar and understanding its interaction with brass, you can achieve a stunning shine that revives the beauty of your cherished items.
Essential Tools for a Successful Cleaning

To achieve a truly effective cleaning of brass using vinegar, having the right tools on hand is essential. The process becomes seamless when equipped with the proper supplies, allowing you to restore the brilliance of your brass items without undue effort. Start with a few basic items that will make a noticeable difference in your cleaning routine.
- Distilled White Vinegar: This is your primary cleaning agent. Ensure it’s fresh and readily available for optimal results. Its acidity is effective at breaking down tarnish without causing discoloration.
- Soft Cloths: Use lint-free microfiber or cotton cloths. They are gentle enough to avoid scratching the brass surface while being absorbent to wipe away residue effectively.
- Soft-Bristled Brush: For intricate designs, a soft-bristled toothbrush or a small paintbrush can help reach into crevices and remove stubborn dirt buildup.
- Bowl or Container: A small bowl for mixing solutions is necessary if you plan to dilute the vinegar or combine it with other cleaning agents, such as baking soda.
- Rubber Gloves: Protect your hands from prolonged vinegar exposure, especially if you’re sensitive to acidity. Gloves also create a better grip while handling slippery items.
- Optional: Baking Soda: While primarily using vinegar, consider having baking soda on hand as a supplementary cleaning agent. This combination effectively tackles more stubborn tarnish when mixed into a paste.
Having these tools will not only make your cleaning task easier but also ensure that you achieve remarkable results. With the right preparation, you’re set to elevate the charm of your brass items, bringing them back to life while preserving their integrity.
Step-by-Step Guide to Cleaning Brass with Vinegar
To achieve a pristine shine on your brass items using vinegar, follow this straightforward and effective approach. Vinegar, with its natural acidity, is a powerful cleaning agent that removes tarnish and grime without harsh chemicals. Let’s get started with the process.
Begin by creating your cleaning solution. Pour approximately 1 cup of distilled white vinegar into a bowl. For added cleaning power, especially for tougher tarnish, mix in 1 tablespoon of baking soda. The combination of vinegar and baking soda will fizz, helping to lift grime away.
Once your solution is ready, dip a soft cloth into it. Wring out any excess liquid, making sure the cloth is damp but not dripping. Gently scrub the brass surface in circular motions. For detailed or intricate areas, use a soft-bristled brush to carefully reach corners and engravings. If you encounter particularly stubborn tarnish, allow the vinegar solution to sit on the affected areas for a few minutes before wiping it off.
After you’ve cleaned the brass thoroughly, rinse it under lukewarm water to remove any residue from the vinegar solution. Dry the item immediately with a clean, soft cloth to prevent water spots and further tarnishing. A final polish with a dry cloth enhances the shine, leaving your brass looking good as new. This effortless method not only restores the brass’s brilliance but also prolongs its life, making maintenance a breeze for your treasured items.
Tips for Tackling Stubborn Tarnish
To achieve optimal results when dealing with stubborn tarnish on brass, it’s essential to be both strategic and persistent in your cleaning approach. Often, the most resistant tarnish is the result of built-up oxidation and grime, which can cling to the surface even after your initial vinegar treatment. Begin by creating a concentrated vinegar solution: mix equal parts distilled white vinegar and water in a bowl for a potent cleaning experience. This enhanced solution will penetrate deeper into the tarnish, allowing you to tackle even the most stubborn stains effectively.
For those particularly tough spots that refuse to budge, consider using a fine-grade steel wool or a soft-bristled toothbrush in conjunction with your vinegar solution. This gentle abrasive can help lift away stubborn tarnish without scratching the brass. Apply the solution to the affected area, then scrub in circular motions, applying just enough pressure to see results. If the tarnish persists, let the vinegar solution sit for an additional five to ten minutes before scrubbing again. This method allows the acidity of the vinegar more time to work on the tarnish without damaging the surface.
Another powerful strategy is to utilize the combination of vinegar and baking soda effectively. If you haven’t tried this yet, create a paste by mixing one tablespoon of baking soda with enough vinegar to achieve a thick consistency. This paste can be applied directly to the stubborn tarnish, allowing the fizzing action to lift grime while the baking soda provides mild abrasion. After allowing the paste to sit for a few minutes, gently scrub the area with a soft cloth or brush, then rinse thoroughly.
Lastly, don’t underestimate the value of patience in this process. Stubborn tarnish may require multiple applications of the vinegar solution or paste to fully remove. Always ensure to rinse and dry the brass thoroughly after treatment to prevent future tarnishing. With these methods, you’ll be well-equipped to restore even the most tarnished brass to its former glory.
Understanding the Science Behind Vinegar’s Effectiveness
The transformative power of vinegar in cleaning brass lies in its acetic acid content, which acts as a mild yet potent acidic agent. When applied to tarnished brass, vinegar’s acidity works effectively to break down the oxidation and buildup of grime that can obscure brass’s natural luster. This chemical reaction not only loosens dirt and tarnish but also alters the properties of the tarnish itself, making it easier to remove. The result? Stunningly restored shine without the harsh chemicals found in many commercial cleaners.
To maximize the effectiveness of vinegar, it’s crucial to understand how it interacts with different types of tarnish. Brass tarnish primarily consists of copper oxide, a substance that forms when brass is exposed to moisture and air. Vinegar’s acid reacts with this oxide, facilitating its breakdown. When you mix vinegar with baking soda, for example, the fizzing reaction resulting from this combination enhances the cleaning process further by creating carbon dioxide, which helps to dislodge stubborn tarnish particles.
The methodical approach of applying a vinegar solution not only removes visible tarnish but also prevents further oxidation. After cleaning, the brass should be thoroughly rinsed and dried to halt any remaining acidic activity that could cause new tarnish to form. This careful attention ensures that the brass remains gleaming and significantly prolongs the time before a repeat cleaning is necessary, saving you both effort and time in the long run.
Incorporating this scientifically backed technique into your cleaning regimen guarantees a consistently polished finish. So arm yourself with a bottle of vinegar, a soft cloth, and the knowledge of how to harness this natural cleaner, and watch your brass transform before your eyes. With a little patience and the right application, you’ll find that achieving a brilliant shine is entirely within your reach.
Alternative Natural Cleaning Solutions for Brass
The quest for natural ways to clean brass goes beyond just vinegar; several other solutions can enhance its shine effectively. These alternatives utilize household items that possess similar cleansing properties, giving you flexibility in your cleaning regimen.
One effective option is lemon juice. The citric acid found in lemons acts as a natural abrasive and can break down tarnish effectively. Mix equal parts lemon juice and baking soda to form a paste. Apply it to the brass using a soft cloth, then rinse thoroughly with warm water and dry immediately. This method not only cleans but also leaves a fresh scent behind.
Another compelling choice is ketchup. While it may seem unconventional, ketchup contains vinegar and salt, both of which are excellent for removing tarnish. To use, simply apply a thin layer of ketchup to the brass item and let it sit for about 10 minutes. Wipe off using a soft cloth or sponge, and rinse well. The acidity of the ketchup will help dissolve the tarnish, making it an effective cleaning solution for intricate brass designs.
Lastly, consider utilizing baking soda alone. Create a thick paste by mixing baking soda with a bit of water. Apply it directly to the tarnished surface in circular motions. Let it sit for a few minutes before rinsing with warm water. Baking soda is non-toxic and gentle, making it ideal for delicate brass items.
When selecting an alternative cleaning solution, always perform a spot test on a small, inconspicuous area first to ensure there’s no adverse reaction. Each of these natural methods not only helps achieve a glorious shine but also supports an eco-friendly cleaning habit, providing impressive results without the need for harsh chemicals. With these simple household items, maintaining the brilliance of your brass has never been easier or more sustainable.
Preserving Your Brass After Cleanup
To ensure your brass items maintain their brilliance after a thorough cleaning, it’s essential to adopt protective measures that shield them from future tarnishing. Simply cleaning your brass with vinegar gives it a fresh look, but without the right aftercare, that sheen can quickly fade. One of the most effective methods to preserve your brass is to apply a protective coating. A thin layer of car wax or mineral oil can significantly inhibit tarnish formation. Just use a soft cloth to apply the wax or oil, making sure to buff it in a circular motion over the entire surface. Allow it to dry, and then gently buff the brass to a shine. This barrier protects against moisture and air exposure, the two main culprits behind tarnish.
Regular maintenance is key to preserving your brass. Incorporate a gentle polishing routine into your cleaning schedule. For instance, every two to three months, lightly buff the surface with a microfiber cloth. This not only removes light tarnish but also maintains the protective coating you’ve applied. If you notice the shine beginning to dull, it may be time for a more thorough clean followed by reapplication of your protective coating. Remember, prevention is much easier than restoration, so keep your brass away from areas with high humidity, and store it in a dry location whenever possible.
Be mindful of what you place on your brass items as well. Certain acids found in common items can negatively impact the finish. Avoid using abrasive materials or harsh chemicals during your cleaning process; they may do more harm than good. Instead, stick to natural solutions, be consistent in your maintenance efforts, and always handle your brass with care. This approach not only enhances its aesthetic appeal but also extends its lifespan, ensuring your brass continues to shine for years to come.
Common Mistakes to Avoid When Cleaning Brass
Many people underestimate the impact of common mistakes when cleaning brass, which can drastically affect the final outcome of your shine restoration effort. One of the most prevalent errors is using the wrong type of vinegar. Not all vinegars are created equal; while white vinegar is a fantastic choice for its strength, apple cider vinegar can leave a residue that detracts from the final shine. Selecting a high-quality white vinegar ensures optimal cleaning power and efficiency.
Another frequent misstep is the use of abrasive materials like steel wool or harsh scrubbing pads. These can scratch the surface of brass, causing irreparable damage. Instead, opt for soft, lint-free cloths or non-abrasive sponges that will lift tarnish without marring the finish. Additionally, applying the vinegar solution too aggressively can lead to uneven cleaning. Gentle, circular motions are the key; this method ensures an even application and helps avoid streaks or dull patches.
Timing is also crucial; allowing vinegar to sit too long can contribute to corrosion rather than restore the brass. A brief soak-generally 5 to 10 minutes-is sufficient, so keep an eye on the clock. Once the time is up, rinse thoroughly with water to neutralize the acid, as leftover vinegar can lead to further tarnishing.
Lastly, neglecting to protect your brass after cleaning is a common yet critical mistake. Without applying a protective layer-such as a thin coat of mineral oil or wax-your brass will be susceptible to future tarnish. Ensure you buff in this protective product gently to maintain the luster you’ve worked hard to achieve. These simple yet effective practices will help keep your brass items looking beautiful for years to come.
How to Maintain Brass to Prevent Tarnish
To keep your brass shining bright and prevent tarnish from becoming a recurring nuisance, implementing a few effective maintenance habits is essential. Regular care not only preserves your brass’s appearance but also extends its lifespan, ensuring it continues to be a beautiful addition to your home or collection. One of the most effective strategies is to establish a consistent cleaning schedule. Aim to wipe down your brass items with a soft, dry cloth at least once a month to remove dust and oils that can accelerate tarnishing. This proactive approach can significantly reduce the need for deep cleaning with vinegar and enhance the longevity of your brass.
Incorporating a protective coating can further enhance brass preservation. After cleaning, apply a thin layer of mineral oil or a specialized brass polish, buffing it gently with a lint-free cloth. This layer acts as a barrier against moisture and air-two primary culprits in tarnish development. Be meticulous with application, ensuring that the entire surface is covered but avoiding excess that could lead to a greasy appearance. Additionally, consider storing brass items in a dry, cool location, as humidity can exacerbate tarnishing. For items frequently handled, such as door knobs or decorative pieces, frequent polishing may be necessary to maintain their shine.
Also, be mindful of the products you use around brass fixtures. Household cleaners and chemicals can often contain ingredients that are harsh on brass; opt for gentle, pH-balanced cleaners instead. When it comes to more stubborn stains or tarnish that may develop over time, a combination of vinegar and baking soda creates a highly effective, natural cleaning paste. Apply it gently, allow it to sit briefly, and rinse thoroughly to prevent residue that could detract from the shine.
By maintaining these habits, you not only ensure a consistent gleam but also cement your brass pieces as enduring staples in your decor, reducing the effort required for future cleaning and preserving their inherent beauty.
DIY Brass Cleaning Solutions: Enhancing Vinegar’s Power
To elevate your brass cleaning game, combining vinegar with other common household ingredients can significantly enhance its effectiveness, making it an even more formidable cleaning solution. While vinegar is known for its ability to cut through tarnish, pairing it with baking soda, lemon juice, or salt can amplify its power and tackle stubborn stains that might otherwise resist a simple vinegar treatment. For instance, a mixture of vinegar and baking soda creates a fizzy reaction that lifts tarnish, while lemon juice contributes additional acidity that can brighten the brass.
To create your multi-functional brass cleaning solution, follow these steps:
- Vinegar and Baking Soda Paste: Mix equal parts white vinegar and baking soda to form a paste. Apply it directly to the tarnished areas, allowing it to sit for 10-15 minutes. This technique consistently removes even stubborn stains. Rinse thoroughly with warm water and dry with a soft cloth.
- Lemon Juice and Vinegar Mix: Combine two tablespoons of lemon juice with one cup of vinegar. This potent mixture not only enhances the cleaning power of vinegar but leaves a fresh scent. Use a soft cloth to apply and buff the brass, and finish by rinsing with water.
- Salt and Vinegar Solution: Create a saturated solution using one cup of vinegar and two tablespoons of salt. Soak a cloth in the solution and use it to wipe down your brass items. Rinse with water after cleaning to avoid residue.
These enhanced cleaning solutions not only make light work of tarnish but also promote a long-lasting shine and the visual appeal of your brass. Always test a small inconspicuous area first to ensure your brass responds well to your chosen method. With these DIY solutions, you can turn your cleaning routine into an effective arsenal against tarnish, keeping your brass looking its best and enhancing its charm in your home décor.
When to Seek Professional Help for Brass Restoration
When tackling the cleaning of brass items, there comes a point where DIY methods may not deliver the desired results, and seeking professional help becomes essential. Consider consulting an expert if your brass has suffered significant tarnish or corrosion that regular cleaning cannot restore. High-value antique brass pieces and family heirlooms especially fall into this category; their sentimental and monetary worth warrants expert attention to avoid further damage during cleaning attempts.
If you notice that your brass item has begun to develop a greenish patina, this indicates copper oxidation or corrosion that requires specialized treatment. Brasses that have intricate engravings or sensitive areas, where improper cleaning could cause irreversible damage, should also be handled by professionals. For example, antique brass fixtures or ornate candle holders may be more than just decorative; they can be fragile, and vigorous scrubbing may damage the delicate wood or glass components.
In addition, if you have limited experience with chemical cleaning solutions, this could pose risks not only to your brass but also to the surrounding environment. Professionals are equipped to handle such situations with the right knowledge and tools, employing methods that safely restore the beauty of your brass without harmful outcomes. This is particularly true for items that require a complete restoration, including polishing, protective coating, or even repair of mechanical components, all of which needs expertise to ensure future usability.
Ultimately, when the task of restoring your cherished brass items becomes overwhelming-or if the stakes are particularly high-don’t hesitate to reach out to professionals. Their specialized skills can save you time, protect your items from damage, and ensure a stunning finish that hand-cleaning often struggles to achieve.
Understanding the Value of Proper Brass Care
Proper care for your brass items is essential for preserving their beauty and longevity. With its unique composition of copper and zinc, brass requires attention to avoid tarnishing, which can detract from its appealing shine and functionality. Understanding the value of maintaining your brass not only enhances its aesthetic qualities but also protects your investment-especially if your pieces are antiques or family heirlooms that hold sentimental significance.
To effectively care for your brass, regular cleaning is critical. Utilizing natural cleaning methods, such as vinegar solutions, can be incredibly effective. Vinegar acts not just as a cleaner but also as a protectant. When applied regularly, it can inhibit the buildup of tarnish, keeping brass looking new. Remember, prevention is often simpler than restoration; the less tarnish forms, the less effort is required in cleaning. Incorporate vinegar cleaning into your routine, treating your brass items at least once a month, depending on the exposure to air and moisture.
Additionally, consider the environment where you keep your brass. High humidity and air pollutants can accelerate the tarnishing process. Storing brass items in a dry, controlled environment helps prolong their shine. Employ microfiber cloths for dusting and avoid abrasive materials that may scratch the surface. For high-traffic areas, where brass handles or fixtures are frequently touched, apply a thin layer of wax or sealant designed for use on metals. This additional barrier enhances protection against moisture and oils from fingertips.
In sum, the value of proper brass care transcends mere appearance. It is about maintaining your items’ integrity and functionality. With the right cleaning techniques and preventive measures, you can ensure that your brass continues to shine bright and serve its purpose for years to come. Embrace these practices not just as chores, but as a commitment to preserving pieces of art and history in your home.
Closing Remarks
Now that you know how to clean brass with vinegar for a natural shine in just minutes, take action today! Remember, this simple method not only removes tarnish but also restores the luster to your beloved brass items. If you have any stubborn stains that require attention, don’t hesitate to apply a little extra elbow grease or reach out for more tailored techniques.
For more tips on maintaining your home, explore our articles on “Natural Cleaning Solutions” and “Top 5 Brass Care Tips.” Join our newsletter for exclusive cleaning hacks and product recommendations tailored just for you! Don’t let the grime take over-start your cleaning journey now and share your results in the comments below. Your shiny brass fixtures await!
Get our latest guides, news, and insights highlighted in your Google Search & AI Overviews.


