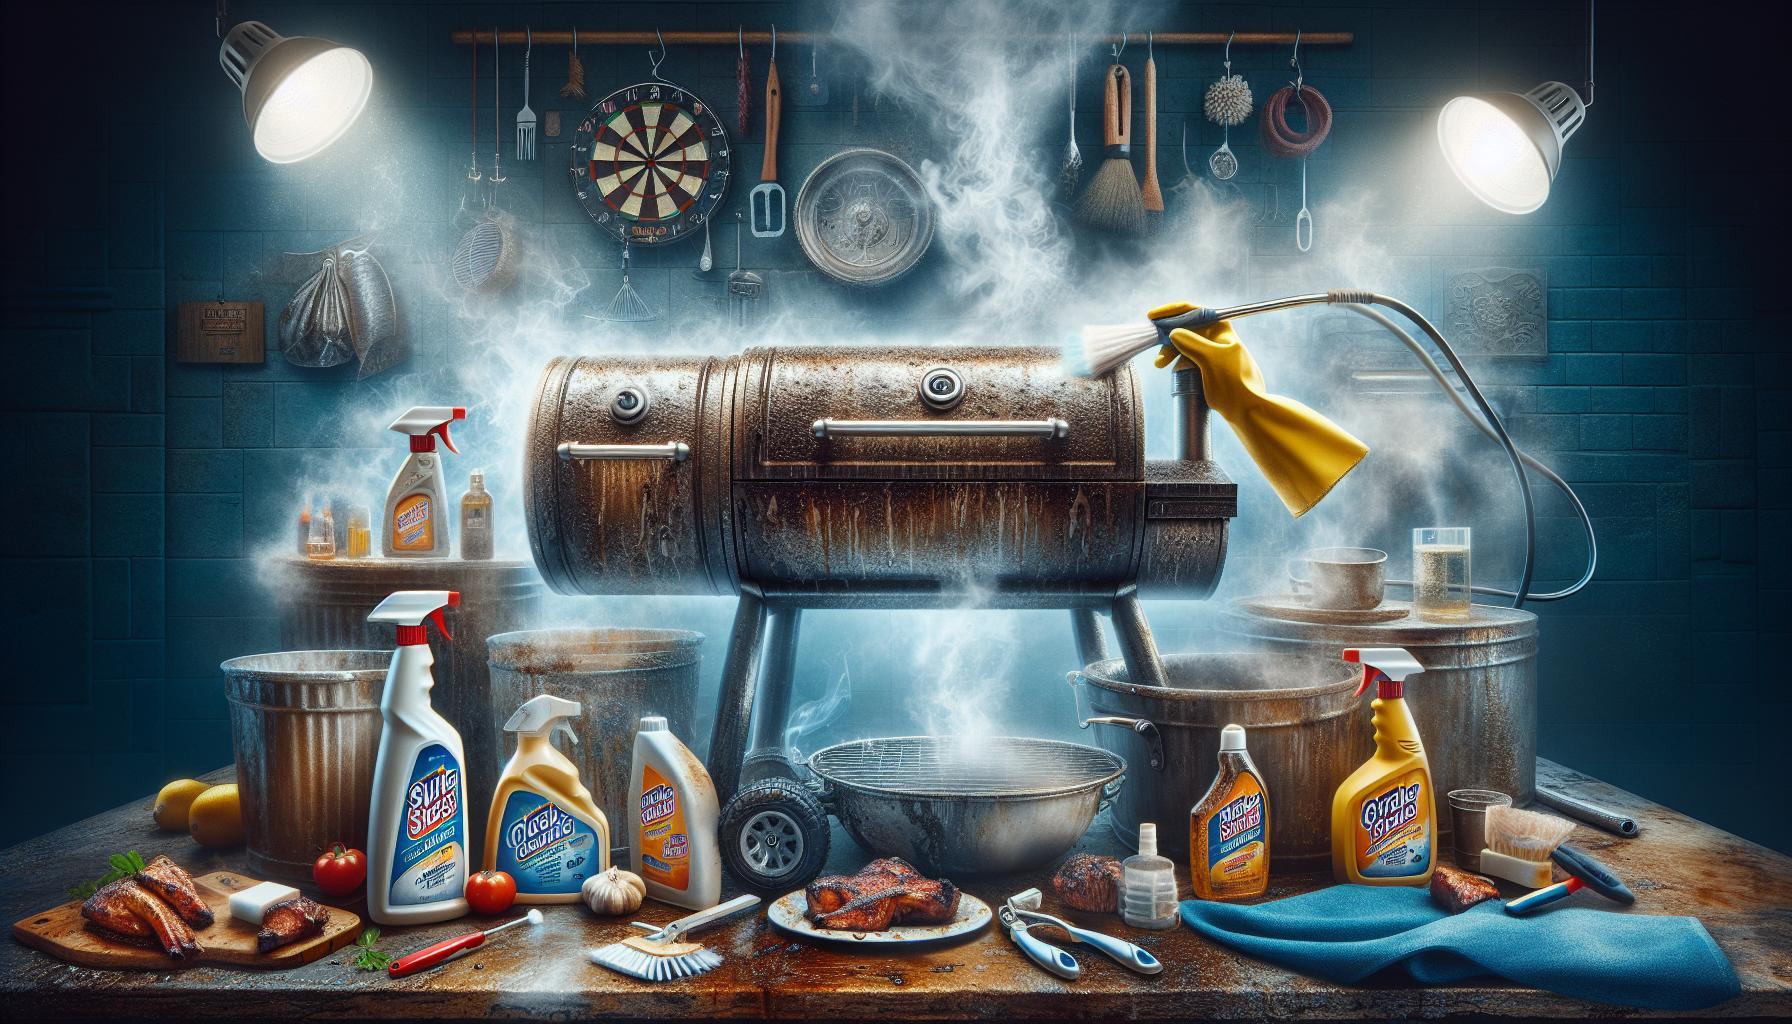

Did you know that a dirty smoker can not only ruin your food’s flavor but also affect its cooking efficiency? Many barbecue enthusiasts face this challenge, often wondering how to maintain that beloved smoky taste while ensuring their equipment is in top shape. Cleaning your smoker is essential not just for hygiene, but also for enhancing the richness of your dishes and prolonging the life of your appliance.
In this guide, we will delve into effective techniques for removing stubborn grease and grime that can accumulate after countless cookouts. By mastering these cleaning methods, you’ll not only improve the taste of your smoked meats but also enjoy a safer cooking experience. Ready to reclaim your smoker’s flavor potential? Let’s get started!
How to Prepare Your Smoker for Cleaning
Preparing your smoker for cleaning is an essential step that can significantly enhance both the efficiency of your cleaning process and the flavor of your smoked dishes. A well-prepped smoker not only saves you time but also ensures that you tackle grease and grime effectively, paving the way for a successful deep clean. By following a few straightforward yet impactful steps, you can set the stage for a thorough and fruitful cleaning session.
Start by ensuring your smoker is completely cool. Attempting to clean a hot smoker can lead to burns and prevent effective grease removal. Once cooled, disassemble any removable parts, such as racks, heat shields, or drippings trays. This allows for more focused cleaning on individual components rather than tackling the entire smoker at once. Place these parts aside in a safe area where they can be easily accessed during the cleaning process.
Next, gather your supplies. Having everything ready at your disposal will streamline the cleaning experience. You’ll need a plastic scraper for removing large chunks of grease, a bucket for collecting debris, and a brush with stiff bristles for scrubbing. Additionally, gather your cleaning solutions: a degreaser for tough grease, vinegar for its natural antibacterial properties, and soap to finish the job. A set of rubber gloves will not only protect your hands but also offer a better grip while cleaning.
Finally, ensure your workspace is set up for minimal fuss. Lay down a tarp or newspaper under your smoker to catch any falling debris or drips from grease and cleaning solutions. This not only protects your deck or patio but simplifies the cleanup process afterward. By setting the scene with these preparatory steps, you ensure that your cleaning session is not just efficient but also effective, leading to a well-maintained smoker that enhances the quality of your culinary endeavors.
Essential Tools and Supplies for Cleaning
Cleaning your smoker can be a rewarding experience that leads to delicious smoked dishes. Having the right tools and supplies on hand not only simplifies the process but also enhances your overall cleaning efficiency. A few essential items can make a world of difference in tackling both grease buildup and stubborn stains effectively.
Start with the basics, which set the foundation for your cleaning process:
Must-Have Cleaning Supplies
- Plastic Scraper: This is crucial for dislodging large chunks of grease and food remnants. A flexible scraper can navigate the contours of your smoker’s surfaces efficiently.
- Stiff-Bristled Brush: Invest in a decent brush with stiff bristles that can scrub away hardened grime. Look for one designed for grill or smoker cleaning, as these are particularly effective without scratching surfaces.
- Bucket: A good-sized bucket provides an effective way to collect debris and dirty cleaning solutions, keeping your workspace tidy.
- Protective Gear: Rubber gloves are non-negotiable. They not only protect your hands from harsh cleaning solutions but also give you a better grip on cleaning tools, reducing the likelihood of slips or accidents.
- Degreaser: A powerful but safe degreaser is essential for cutting through sticky grease. Look for enzyme-based products that are tough on grease yet environmentally friendly.
- Vinegar: Natural and effective, vinegar serves as a versatile cleaning agent with antimicrobial properties, perfect for wiping down surfaces post-degreasing.
- Dish Soap: Don’t underestimate the cleaning power of good old dish soap. It’s excellent for final rinses and can help eliminate any residual odors after your smoker is cleaned.
For more stubborn stains and tough spots, you can incorporate the following extras:
Additional Tools for Stubborn Stains
- Steel Wool or Scouring Pads: For those particularly tough stains that resist brushes, this can work wonders. Just be cautious with aluminum surfaces as it may scratch.
- Microfiber Cloths: These are excellent for detailing and wiping down surfaces after scrubbing. They trap dirt and grease effectively without leaving lint behind.
- Water Hose or Pressure Washer: If your smoker is designed for outdoor use, having a water hose or even a pressure washer can expedite the rinsing process dramatically. Just ensure you don’t soak any electrical components.
By assembling these essential tools and supplies before beginning your cleaning venture, you position yourself for success. Not only will you streamline the process, but you will also ensure that your smoker is restored to like-new condition, ready to enhance the flavors of your next culinary adventure. With determination and the right equipment, tackling the cleaning of your smoker becomes not just a chore, but a pathway to delicious meals.
Step-by-Step Guide to Remove Grease
Cleaning grease from your smoker is crucial for maintaining flavor and ensuring the longevity of your equipment. Grease buildup can affect the overall smoking process and lead to unpleasant tastes in your food. By following a systematic approach to grease removal, you can restore your smoker to its optimal condition efficiently.
Start by gathering your tools and making sure your smoker is completely cool. Offering a little patience now will yield outstanding results later. Begin the process of grease removal by applying your chosen degreaser directly onto the greasy surfaces. Ensure you use an enzyme-based product that effectively breaks down the grease without harming the material of your smoker. Work in small sections, applying the solution with a stiff-bristled brush to help loosen the buildup. Using circular motions, scrub vigorously; this technique consistently removes even stubborn stains, allowing the degreaser to penetrate deeper into the grease.
After scrubbing each section, it’s important to let the degreaser sit for a few minutes. This waiting period allows the active ingredients to work their magic, further breaking down any remaining residue. While you wait, prepare your bucket to collect the debris and dirty solution. Once the time is up, take your plastic scraper and gently scrape away the loosened grease and grime. Dispose of the remnants in your bucket to keep your workspace tidy.
Next, rinse the scrubbed areas thoroughly with a water hose or pressure washer if your smoker allows. Aim to remove all debris and cleaning solution, but be mindful of electrical components-water and electricity don’t mix well. For a final touch, mix equal parts vinegar and water in a spray bottle and apply it to all cleaned surfaces. Wipe down with a microfiber cloth to not only remove any lingering dirt but also to leave a streak-free finish. This step not only disinfects but also adds that extra shine, letting you know your smoker is fully cleaned and ready for the next round of delicious meals.
Effective Techniques to Eliminate Stubborn Stains
Cleaning stubborn stains from your smoker can feel daunting, but with the right techniques, you can tackle even the toughest grime. Did you know that many of the most effective solutions are already in your pantry? By utilizing common household items and employing strategic methods, you can restore your smoker’s surfaces to their original shine without much hassle.
Start your stain-fighting mission with a paste made from baking soda and water. This simple yet powerful solution works wonders on baked-on stains. Mix three parts baking soda with one part water to create a thick paste. Apply this paste generously to the stained areas and let it sit for at least 30 minutes. The alkalinity of baking soda helps break down grease and grime, making subsequent scrubbing more effective. When the time’s up, use a non-abrasive scouring pad or sponge to scrub the area in circular motions, applying light pressure. The combination of baking soda and physical action will lift stubborn stains with ease.
Utilizing Vinegar and Salt
Another potent approach involves vinegar and salt, which not only tackles stains but also helps deodorize your smoker. Mix equal parts vinegar and water in a spray bottle, then add granular salt to the mixture without dissolving it entirely. Spray the affected areas liberally, and let the solution sit for about 10 to 15 minutes. The acetic acid in vinegar breaks down tough stains, while salt acts as a gentle abrasive. After the waiting period, scrub the area with a stiff-bristled brush. Rinse thoroughly to remove any remnants of the solution, which will leave your smoker clean and fresh.
Using Commercial Degreasers
If those household solutions don’t do the trick, consider investing in a commercial-grade degreaser specifically designed for heavy-duty cleaning. Look for enzyme-based products that are safe for your smoker’s materials. Apply the degreaser liberally on the stains, following the manufacturer’s instructions. Often, these products require a dwell time, so let the solution sit for the recommended period before scrubbing. Because these degreasers are formulated to penetrate and break down tough residues, you’ll find them highly effective for persistent stains.
Remember to always rinse thoroughly after using any cleaner, whether homemade or commercial, to prevent any lingering residues that could affect your next grilling session. With these effective techniques, you’ll be well on your way to achieving a spotless smoker that enhances your culinary creations.
How to Clean Different Smoker Types
Cleaning your smoker effectively hinges on its type, as different materials and designs require tailored approaches to maintain optimal performance and prolong lifespan. Whether you own a charcoal, gas, or electric smoker, understanding their unique cleaning requirements will maximize your grilling experience.
For a charcoal smoker, the cleaning process begins once the smoker cools down. Start by removing any leftover ash and charcoal. You can use a vacuum designed for ash to expedite this task. After that, disassemble the smoker components for an in-depth clean. Use a wire brush on the grates to eliminate stuck-on food remnants, and follow up with hot, soapy water for a thorough wash. Rinse well and allow the parts to dry completely before reassembling. To maintain flavor, avoid harsh chemical cleaners that can linger in the smoker; stick to natural solutions when possible.
Conversely, gas smokers have a different structure and require attention to the burner mechanics. Begin the cleaning by turning off the gas and disconnecting the propane tank. Remove the cooking grates, water pan, and any other removable components to clean them. Use a soft brush to clear out any grease and debris that has accumulated around the burner tubes. A mixture of vinegar and water can help cut through stubborn grime on surfaces, but ensure it doesn’t come into contact with the burners directly. Rinse thoroughly and dry. Regular cleaning of the burner allows for even heat distribution and prevents flare-ups, which could impart undesirable flavors to your food.
Electric smokers, with their need for electrical components to stay dry, require a gentler approach. Start by unplugging the unit and allowing it to cool completely. Remove the water tray and wood chip tray, washing them in hot, soapy water to remove any residues. For the interior, a damp cloth with a mixture of baking soda and water works well. Avoid soaking the smoker; instead, focus on removing grease and stains carefully. Inspect the heating element; if it shows any signs of residue, wipe it gently with a cloth or sponge. Keeping the electric components free of gunk is essential for ensuring optimal functionality and preventing unpleasant odors during cooking.
By understanding the specific needs of your smoker type and employing targeted cleaning techniques, you can maintain your smoker’s performance, enhance the flavors of your dishes, and ensure every cookout is an enjoyable success.
Enhancing Flavor: Seasoning Your Smoker
Seasoning your smoker is an essential step not only to maintain its condition but to ensure that the flavors of your food reach their full potential. This process creates a protective layer on the surfaces of your smoker, which helps to eliminate any residual tastes from previous cooks and enhances the natural flavor of the wood or pellets used during smoking. The beauty of a well-seasoned smoker is that it ultimately contributes to better flavor absorption, creating deliciously infused dishes that will elevate your grilling game to new heights.
To begin seasoning your smoker effectively, follow these straightforward steps:
Steps for Seasoning Your Smoker
- Clean the Smoker Thoroughly: Before seasoning, ensure your smoker is clean from any grease, food particles, or old seasoning layers. A thorough cleaning will set up a blank canvas for seasoning. Use hot, soapy water to clean all removable components, and make sure the interior is clear of debris.
- Choose the Right Oil: Select a high-smoke point oil like vegetable oil, canola oil, or grapeseed oil. These oils can withstand the heat required for seasoning without burning off too quickly. Apply about 1/4 cup of the chosen oil to a paper towel or a clean cloth.
- Coat the Interior: Wipe down the interior surfaces of your smoker with the oiled cloth. Focus on getting an even layer over all surfaces, especially around the grates and water pan. Avoid over-saturating any areas-just a light coating will do the trick.
- Heat the Smoker: Preheat your smoker to about 275°F (135°C). If you have a charcoal or gas smoker, fill the fuel chamber accordingly; for electric smokers, simply plug it in. Let the smoker run for about two to four hours to allow the oil to bond to the surfaces, creating that protective layer.
- Add Wood Chips: For an added burst of flavor during the seasoning process, include wood chips that correspond with the flavor profile you want. Hickory, mesquite, or applewood are excellent choices that can infuse an aromatic touch.
- Cool Down and Repeat: Once the seasoning period concludes, allow your smoker to cool completely. For optimal results, it’s advisable to repeat the oiling process a couple of times before your first cook, especially if your smoker is new.
Why Seasoning Matters: Seasoning not only prepares your smoker for optimal use but also contributes to cleaner burns and flavor enhancement. Each time you cook, the flavors from your meal will interact with this seasoned layer, resulting in a depth of flavor that builds over time. The more you season, the more character your dishes will take on, creating a beautiful backyard narrative of culinary experiences.
By following these steps and making seasoning a part of your smoker maintenance routine, you’ll ensure that every barbecue is infused with mouthwatering flavors and elevate the quality of your smoking sessions. A well-seasoned smoker is not just about the cooking vessel; it’s about crafting memorable meals and enjoying the process every step of the way.
Maintaining Your Smoker for Longevity
Many grill enthusiasts underestimate the importance of regular maintenance for their smokers. Just like a well-tuned instrument, your smoker requires consistent care to perform optimally and prolong its lifespan. When you prioritize upkeep, you’re not just preventing excessive grime buildup; you’re actively enhancing the flavor of your future meals and ensuring each cook is as enjoyable as the last.
Regular Cleaning
After each cook, dedicate a few minutes to remove leftover ash and clean the grates. A buildup of grime can lead to unpleasant flavors infiltrating your next barbecue. Use a high-quality grill brush to scrape down the grates while they are still warm-this helps remove food residues more efficiently. Follow up with a damp cloth to remove any leftover debris. This simple act of cleaning prevents tougher stains from forming and keeps your smoker in top condition.
Inspect and Treat Rust
Regular inspection is crucial. Look for any signs of rust, particularly if you live in a humid climate. Treat any rust spots immediately with a fine steel wool pad and appropriate rust-inhibiting product. After removing the rust, apply a high-temperature paint made for grills to seal the affected areas. A proactive approach can save you from major repairs down the line.
Protect Against Weather
If your smoker is kept outside, invest in a good-quality cover to protect it from the elements. Exposure to rain and extreme temperatures can cause significant wear and tear. Choose a cover that is breathable to prevent moisture buildup inside, which can promote rust. During winter, consider moving your smoker to a sheltered area or garage to shield it from icy blasts and snow accumulation.
Season Regularly
Just as cleaning is crucial, don’t overlook the value of regular seasoning. Every couple of months, especially after high-usage periods, apply a new layer of oil as detailed in the seasoning section. This not only creates a protective barrier but also enhances the flavor of your next cook. By embedding the flavors into the seasoned layer, you pave the way for unforgettable barbecued meals.
Incorporating these maintenance steps into your routine will ensure your smoker remains a reliable companion for years to come. A well-maintained smoker not only performs better but also produces consistently flavorful dishes. Commit to this care regimen, and you’ll reap the benefits through flavorful meals and a smoker that stands the test of time.
Common Mistakes to Avoid While Cleaning
Cleaning your smoker shouldn’t feel like a chore; it’s an essential part of maintaining the integrity and performance of your cooking equipment. However, many enthusiasts fall into recurring traps that can hinder their cleaning efforts and ultimately affect the food they cook. By recognizing and avoiding these common mistakes, you can streamline your cleaning process and ensure that your smoker not only performs optimally but also enhances the flavors of your meals.
One prevalent error is neglecting the simple yet impactful act of pre-cleaning preparation. Skipping the step of allowing your smoker to cool down after use or failing to scrape off excess grease can lead to tougher messes. Always let your smoker cool completely-this can take several hours for larger units. Once cool, start with a thorough scraping of the grates and interior surfaces. Utilize a high-quality grill brush designed specifically for your model to ensure that you effectively dislodge residue without damaging the surfaces. This proactive approach makes subsequent cleaning significantly easier and prevents future buildup.
Another mistake is overusing harsh chemicals. While the goal is to achieve a pristine finish, many commercial cleaners can leave behind residues that not only affect flavor but also pose health risks. Instead, consider natural alternatives such as a mixture of vinegar and baking soda. Create a paste with these two ingredients and apply it to stained areas. Not only is this method effective, but it’s also environmentally friendly. After letting it sit for 15-20 minutes, scrub gently with a brush or cloth, and rinse well. This technique consistently removes even stubborn stains without compromising the integrity of your smoker or the safety of your food.
Finally, many overlook the importance of proper drying post-cleaning. After scrubbing away grease and residue, it’s crucial to thoroughly dry all surfaces to prevent rust formation, particularly for metal components. Use a clean, dry towel to wipe down any surfaces, and leave the smoker open for a while to air dry. This simple step helps to maintain your smoker’s longevity and prevents moisture-related issues.
By being mindful of these common pitfalls-pre-cleaning neglect, over-reliance on harsh chemicals, and inadequate drying-you position yourself for success in maintaining a cleaner, more efficient smoker that enhances your culinary creations with every use.
Cleaning Frequency: How Often Should You Clean?
Keeping your smoker in pristine condition isn’t just about aesthetics-it’s crucial for ensuring that every meal you prepare bursts with flavor. The frequency with which you clean your smoker depends on how often you use it and the type of food you cook. Regular maintenance will keep it functioning effectively, prolong its lifespan, and prevent any unpleasant flavors from seeping into your grilled delights.
General Cleaning Guidelines
For most casual smokers, a light cleaning after each use can work wonders. This means removing any ash, grease, and food residue. If you’re using your smoker weekly or depending on how many high-fat foods you smoke (like ribs or brisket), aim for a more thorough cleaning every month. In this cleaning, you should focus on scrubbing the grates, cleaning the drip pan, and wiping down interior surfaces. A deep clean-where you dismantle components for a more detailed scrub-should happen every three to six months.
Consider implementing a seasonal cleaning routine. At the start of each smoking season, give your smoker an extensive clean to remove any summer cobwebs or winter grime. By integrating this habit, you establish a preventative maintenance mindset that minimizes tedious scrubbing tasks down the line.
Determining Your Cleaning Schedule
For those who smoke frequently or engage in competition cooking, you’ll want to adopt a more rigorous cleaning schedule. If you find residues accumulating quickly after each smoking session, consider these tips:
- Daily or Post-Use: Wipe down the exterior and clean out debris and ashes.
- Weekly: Give the grates a thorough scrub and check for grease buildup inside.
- Monthly: Inspect and clean all smoker components, including the firebox and vents.
- Quarterly: Conduct a deep clean-dismantle the unit. Remove grates and wash them completely; soak in warm water with dish soap if necessary.
Adhering to a well-planned cleaning schedule will ensure that every time you smoke, you’re starting with a clean slate, no lingering flavors, and optimal performance. You’ll notice the difference-both in the health of your smoker and in the taste of your food. By making cleaning a consistent part of your smoking routine, you’re not just maintaining your equipment; you’re elevating your culinary game to ensure mouthwatering results every time.
Tips for Deep Cleaning Your Smoker
Regular deep cleaning of your smoker is essential not only for hygiene but also to enhance the flavor of the meals you prepare. Over time, grease, smoke residue, and food particles accumulate, which can lead to unpleasant tastes and potentially affect your smoker’s performance. Tackling this task may seem daunting, but with a systematic approach and the right tools, you can restore your smoker to its optimum condition.
Start your deep cleaning process by gathering essential tools: a stiff brush, a putty knife, a sponge, bucket, dish soap, vinegar, and a good degreaser. Begin by disconnecting any propane or electricity if applicable, giving you a safe starting point. Remove all components that can be easily detached-grates, drip pans, and water pans are prime candidates. Soak them in warm, soapy water for at least 30 minutes to loosen grimy build-up. While these parts soak, turn your attention to the interior of the smoker. Utilize a stiff brush to scrub away any loose residue from the walls and surfaces. For stubborn spots, a putty knife can be your best friend; it scrapes off hardened deposits effectively.
Once the interior is scrubbed, mix equal parts water and vinegar in a spray bottle to tackle any remaining stains or odors. Spray the interior generously, letting the solution sit for a few moments before wiping it down with a sponge. This dual-action solution acts as a natural degreaser and deodorizer, leaving your smoker fresh and ready for use. Don’t overlook the importance of the exterior; a clean smoker looks better and reflects the care you put into cooking. Wipe down the outside with a mild detergent and warm water, rinsing thoroughly afterward.
Finally, reassemble your smoker once everything is dry. For the finishing touch, consider lightly seasoning your grates with cooking oil before using them again. This step not only protects the grates but also enhances the flavor of the food. By incorporating these deep cleaning tips into your routine, you ensure that your smoker not only lasts longer but continues to produce tantalizing meals that impress friends and family alike.
Natural Cleaning Solutions for a Chemical-Free Experience
Natural cleaning solutions not only ensure that your smoker remains free from harmful chemicals but can also enhance the flavor of your smoked dishes. Many commercial cleaners leave behind residues that can impact the taste of your food, making natural solutions an attractive option. Fortunately, household items can effectively break down grease and grime without the need for harsh chemicals. Here’s a structured approach to using natural cleaning methods that will leave your smoker sparkling and safe for all your grilling adventures.
Vinegar and Baking Soda: A Dynamic Duo
Combining vinegar and baking soda creates a potent cleaning solution that tackles stubborn stains while being environmentally friendly. Begin by sprinkling baking soda generously on the areas affected by grease buildup. Follow this by spraying white vinegar on top; expect fizzing and bubbling as the two ingredients react. This reaction helps to lift and break down stale grease and food particles effectively. Allow the mixture to sit for about 10-15 minutes to penetrate the gunk, then scrub with a stiff brush or sponge in circular motions. Rinse thoroughly with warm water to ensure no residue is left behind.
Using Lemon Juice as a Deodorizer and Cleaner
Lemon juice is not only a natural cleaning agent but also imparts a fresh scent, making it ideal for cleaning your smoker. Its acidity helps to break down grease. Mix equal parts of lemon juice and warm water in a spray bottle. Spray the solution generously on the interior and exterior surfaces of your smoker and allow it to sit for about five minutes. The natural enzymes within the lemon will help to dissolve stains and odors. Wipe clean with a damp cloth followed by a dry cloth to remove any excess moisture.
Essential Oils: For an Aromatic Clean
To add an uplifting aroma while you clean, consider utilizing essential oils. Tea tree oil is known for its antibacterial properties, while peppermint oil offers a refreshing scent. To create your cleaning solution, mix a few drops of your chosen essential oil with water in a spray bottle. Spray this solution onto surfaces inside your smoker, letting it sit for a few minutes before wiping down with a soft cloth. This method not only cleans but also helps to neutralize any lingering odors.
Tips for a Chemical-Free Cleaning Experience
- Test Surfaces First: Always test your natural cleaners on a small, inconspicuous area before applying them extensively.
- Use Soft Tools: Opt for non-abrasive sponges or brushes to avoid scratching the surfaces of your smoker.
- Stay Consistent: Regular cleaning with natural solutions will prevent the buildup of grime, making each cleaning session easier and more effective.
By embracing these natural cleaning methods, you create a healthier cooking environment for your smoked delicacies while ensuring that your smoker remains in excellent condition. Use these techniques not just to clean but to enhance your overall grilling experience, and enjoy the peace of mind that comes with knowing you’re using safe, effective cleaning solutions.
Restoring Your Smoker to Like-New Condition
is not just about appearances; it’s essential for ensuring optimal performance and flavor in your future grilling adventures. Every seasoned griller knows that a clean smoker is key to enhancing flavors and achieving that perfect smoke ring on ribs or brisket. As grime and residue build up over time, they can affect the quality of your food. So, let’s dive into the proven methods that will breathe new life into your smoker, ensuring it’s both visually appealing and ready for your next culinary masterpiece.
Start by thoroughly disassembling your smoker according to the manufacturer’s guidelines. Pay special attention to remove any removable parts, such as racks, trays, and the water pan. This step not only gives you access to hard-to-reach areas but allows you to clean each component separately, ensuring no grease is left behind. For most smokers, using hot, soapy water or a solution of vinegar and water is effective for removing built-up residue. Apply the solution generously, allowing it to sit for at least 15 minutes to break down tough stains.
Once the soiled components are soaked, scrub them using a non-abrasive sponge or brush. For stubborn spots, a paste made of baking soda and water can effectively tackle tricky stains. After scrubbing, rinse each piece thoroughly, and allow them to dry before reassembling your smoker.
Next, focus on the interior of the smoker. If it is a charcoal smoker, you’ll need to clean the ashes and residue from the charcoal pan and firebox. An effective method is using a vacuum cleaner with a filter designed to handle ash. For electric or gas smokers, wipe down the interior surfaces with the vinegar solution previously mentioned, applying it with a soft cloth or sponge to avoid scratching. The mild acidity of vinegar works wonders on grease while deodorizing at the same time.
Once your smoker’s components and interior are sparkling clean, don’t forget about the exterior. A mixture of warm soapy water and a soft cloth will suffice for keeping the outside presentable. Finish off the rejuvenation process by seasoning your smoker. After everything has dried, apply a light coat of vegetable oil to the interior surfaces, which will not only help protect against rust but will also enhance the flavor of your food during your next cooking session.
This revitalized approach not only ensures your smoker looks great but helps restore its functionality, so you can maintain the rich flavors that your meals deserve. With regular attention and these simple cleaning techniques, you can effortlessly keep your smoker in excellent condition, ready for flavorful barbecue experiences.
Final Thoughts
Now that you know how to effectively clean a smoker and remove grease to enhance flavor, it’s time to put your newfound knowledge to the test. Regular cleaning not only elevates your cooking experience but ensures that every bite is packed with the rich, smoky flavor you crave. Don’t let grease and residue compromise your next barbecue!
Explore our related guides on “Best Woods for Smoking” and “Essential Smoking Tips for Beginners” for even more insights that will elevate your grilling game. As you embark on this cleaning journey, feel free to reach out with questions or share your experiences in the comments-your feedback helps us create better content!
Ready to take your smoking skills to the next level? Sign up for our newsletter for expert tips and exclusive offers. With these tools and knowledge, you’ll become the go-to grill master in your circle. Don’t wait; start cleaning and discover a world of flavor today!
Get our latest guides, news, and insights highlighted in your Google Search & AI Overviews.